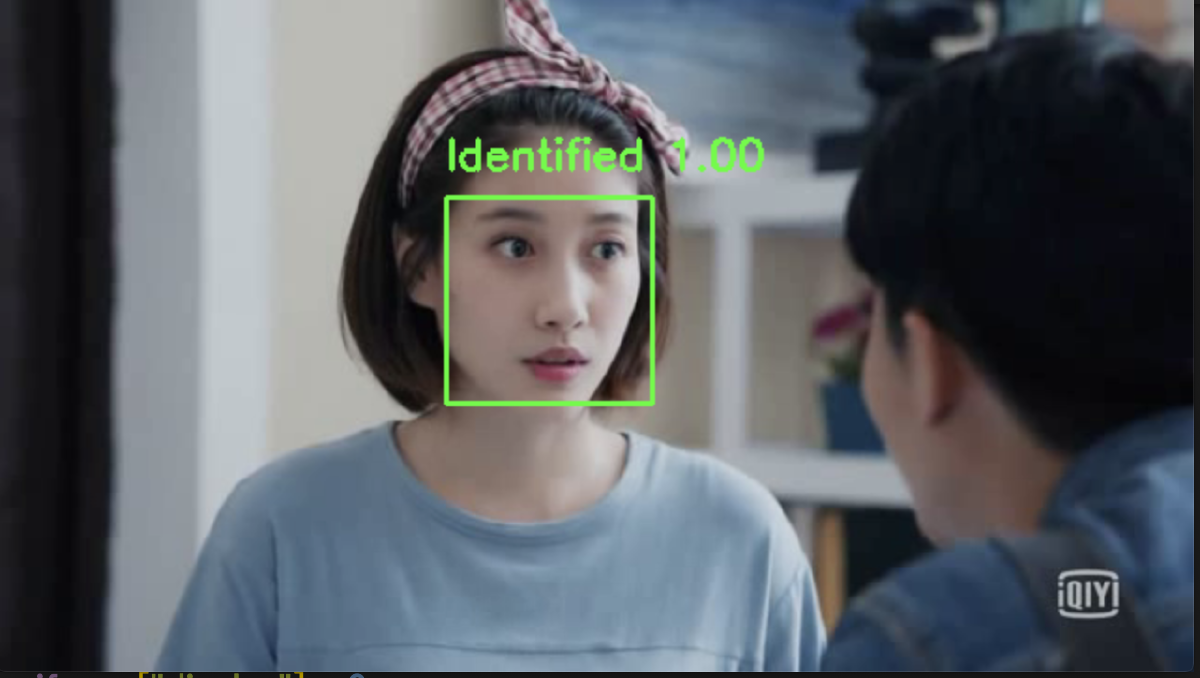

The goal of this small project is to detect when a specific person appears in a video and record the corresponding timestamps. This post documents the environment, the material, the pipeline, and what I would improve.
Setup#
The pipeline is written in Python, and the environment is somewhat picky. The main dependencies are:
- dlib: a C++ library that provides machine learning, numerical computation, graphical model, and image processing algorithms
- face-recognition: a pre-trained, ready-to-use face recognition toolkit built on dlib
- imutils: helpers for working with files and folders
- OpenCV: used to read the video stream and convert frames between formats
Installing the environment#
There are two ways to install the dependencies.
Install with
pip. If you are in China, switching to a domestic mirror speeds up downloads considerably. The mirrors I know of:Install with Anaconda. Note that face-recognition is not available from the Anaconda channels, so it still has to be installed with
pip.
Installation can be fiddly, so here are the environments I tested on macOS and Windows.
macOS
- Python 3.8
- dlib 19.20.0
- cmake 3.18.0
- face-recognition 1.3.0
- imutils 0.5.3
Windows
- Python 3.6
- dlib 19.7.0
- cmake 3.18.0
- face-recognition 1.3.0
- imutils 0.5.3
pip install dlib fails on Windows, download the matching wheel file and install it directly, for example pip install dlib-19.7.0-cp36-cp36m-win_amd64.whl.Material#
With the environment ready, the project needs two kinds of input:
- Photos of the target person
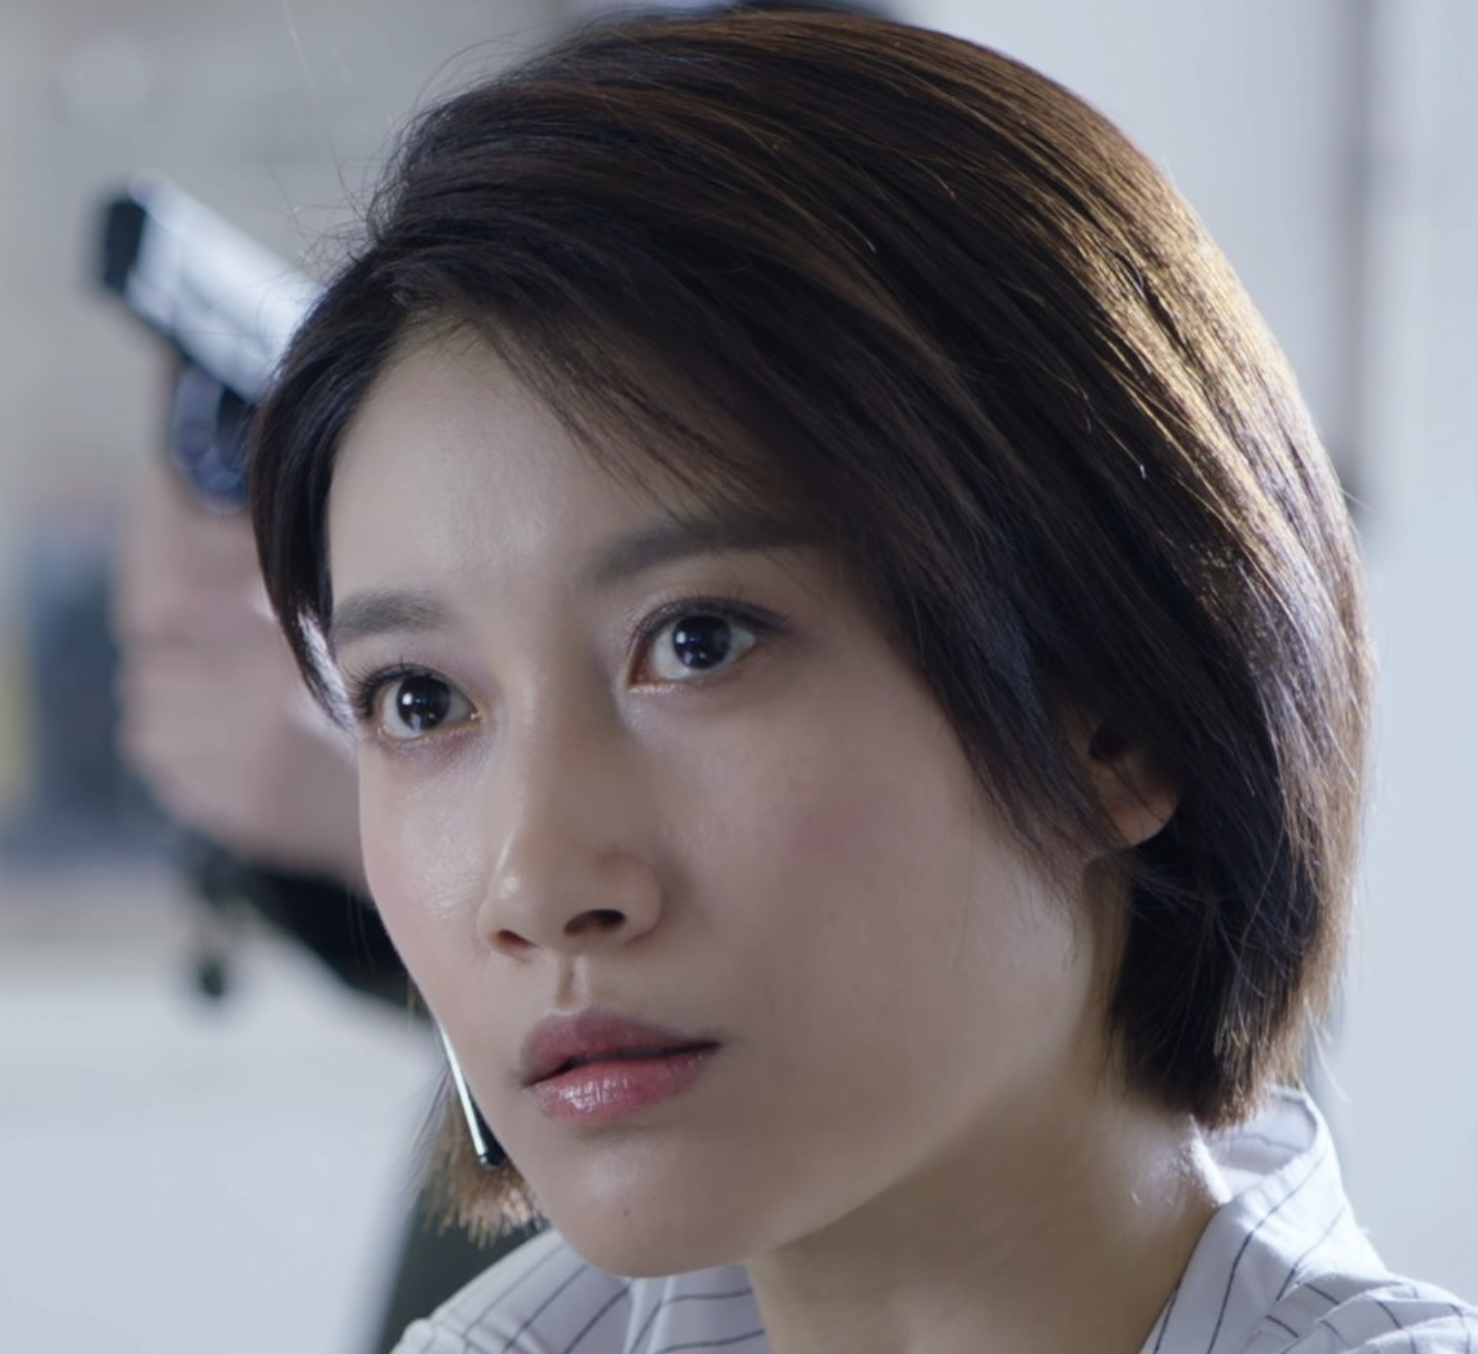
- A test video in which the target person appears
Photos of the target person#
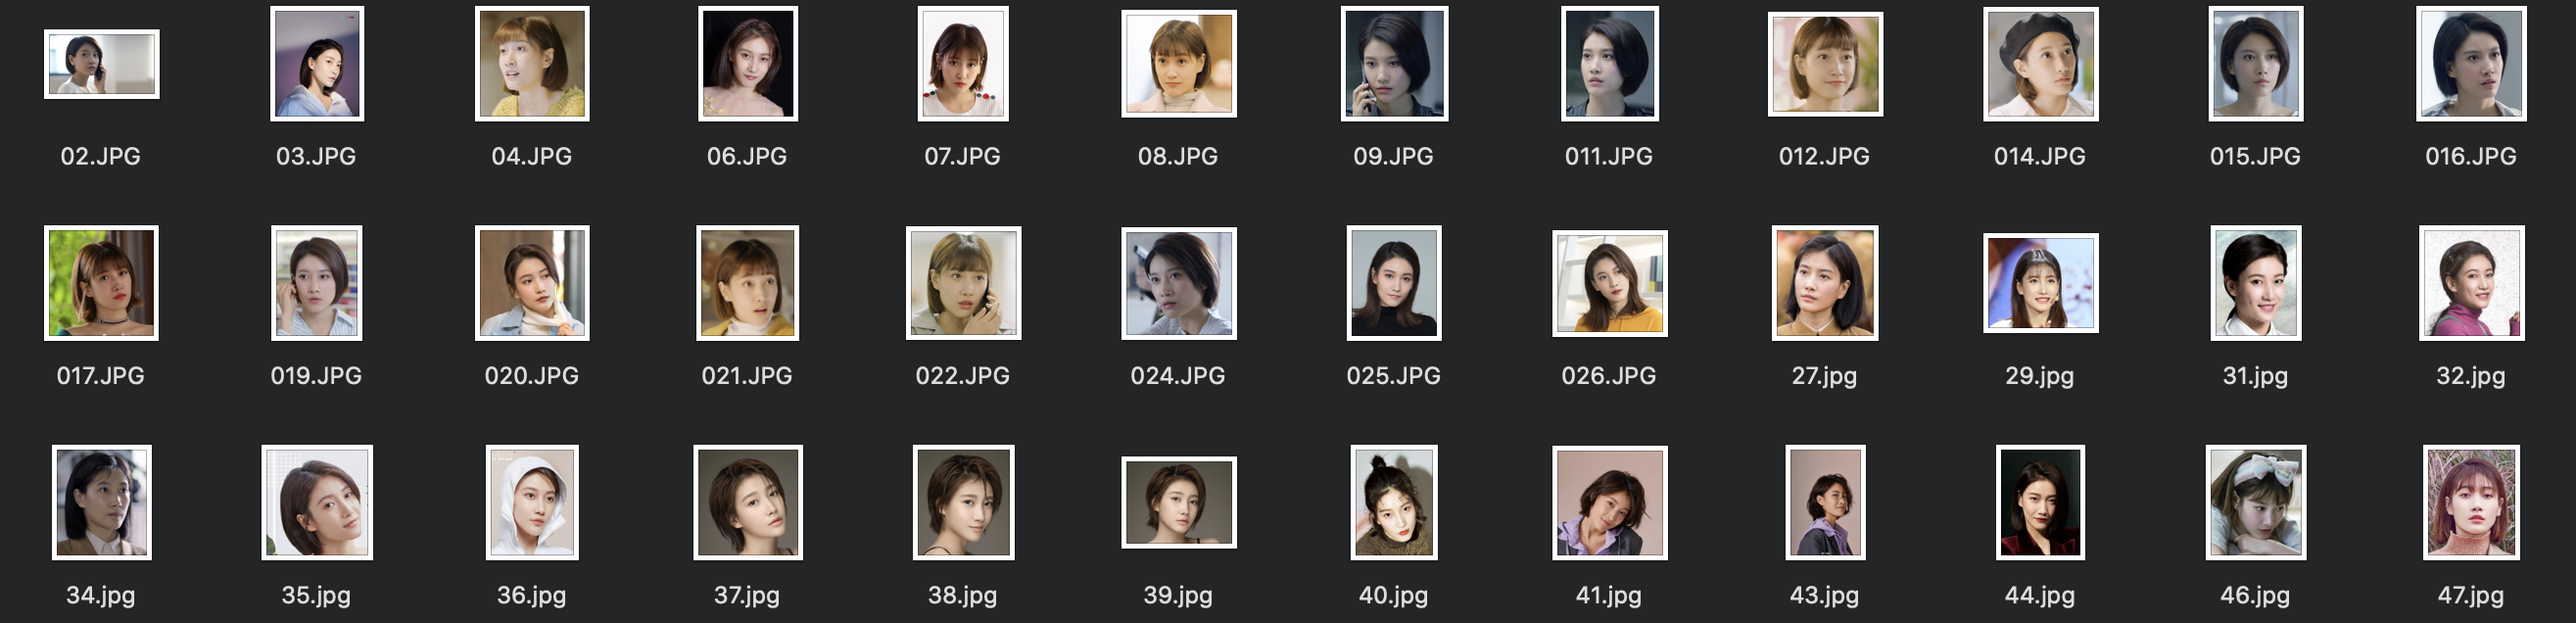
This project tracks a single person. More photos are better; 30 to 80 photos are enough for reasonably accurate recognition. Each photo should contain only one person, and the set should cover a wide range of expressions rather than many near-identical shots.
Test video#

Pipeline#
Recognizing a specific person in a video takes two main steps:
- Encode every photo of the target as a 128-element one-dimensional array.

- Detect faces in each video frame, encode them the same way, and compare them with the target encodings to decide whether they match.

Encoding the photos#
# Imports
from imutils import paths  # file handling
import face_recognition  # face detection and encoding
import pickle  # store encodings compactly as a pickle file
import cv2  # video and image handling

# Collect the photos
print("[INFO] quantifying faces...")
imagePaths = list(paths.list_images("./dataset"))  # dataset/ holds the photos

# Encodings of all photos
knownEncodings = []

# Encode each photo
for (i, imagePath) in enumerate(imagePaths):

    print("[INFO] processing image {}/{}".format(i + 1, len(imagePaths)))

    # Load the image and convert it to RGB
    image = cv2.imread(imagePath)
    rgb = cv2.cvtColor(image, cv2.COLOR_BGR2RGB)

    # Detect faces and return their bounding boxes
    boxes = face_recognition.face_locations(rgb, model="hog")  # model can be "cnn" or "hog"

    # Encode the faces and store the encodings
    encodings = face_recognition.face_encodings(rgb, boxes)
    for encoding in encodings:
        knownEncodings.append(encoding)

# Write the encodings to disk
print("[INFO] serializing encodings...")
data = {"encodings.pickle": knownEncodings}
with open("encoding_face.pickle", "wb") as f:
    f.write(pickle.dumps(data))
The detection model matters:
- If you have a GPU, use the convolutional neural network (CNN) model; it is accurate but computationally expensive.
- If, like me, you only have a CPU, use the histogram of oriented gradients (HOG) model. It is much faster; encoding 30 photos takes roughly 3 to 5 minutes.
Once all photos are encoded, the resulting file can be reused for any number of videos. If you add more photos, re-run the encoding. Free GPU time is also available from Google Colab and Kaggle.
Recognizing faces in the video#
OpenCV reads the video stream and processes it frame by frame. This is what real-time processing looks like:

Three global parameters control the behavior:
- THRESHOLD = 0.5: the distance threshold for deciding whether a face in the video matches the target. The library default is 0.6; smaller is stricter.
- FILTER_STANDARD = 0.6: the fraction of target photos a face must match to count as a hit. Larger is stricter.
- FRAME_STEP = 20: how many frames to skip between checks. Skipping frames speeds up processing; this video runs at about 24 frames per second, so keep the step small enough that the timeline stays continuous.
As with encoding, the CNN model is better suited to GPU computation.
Output#
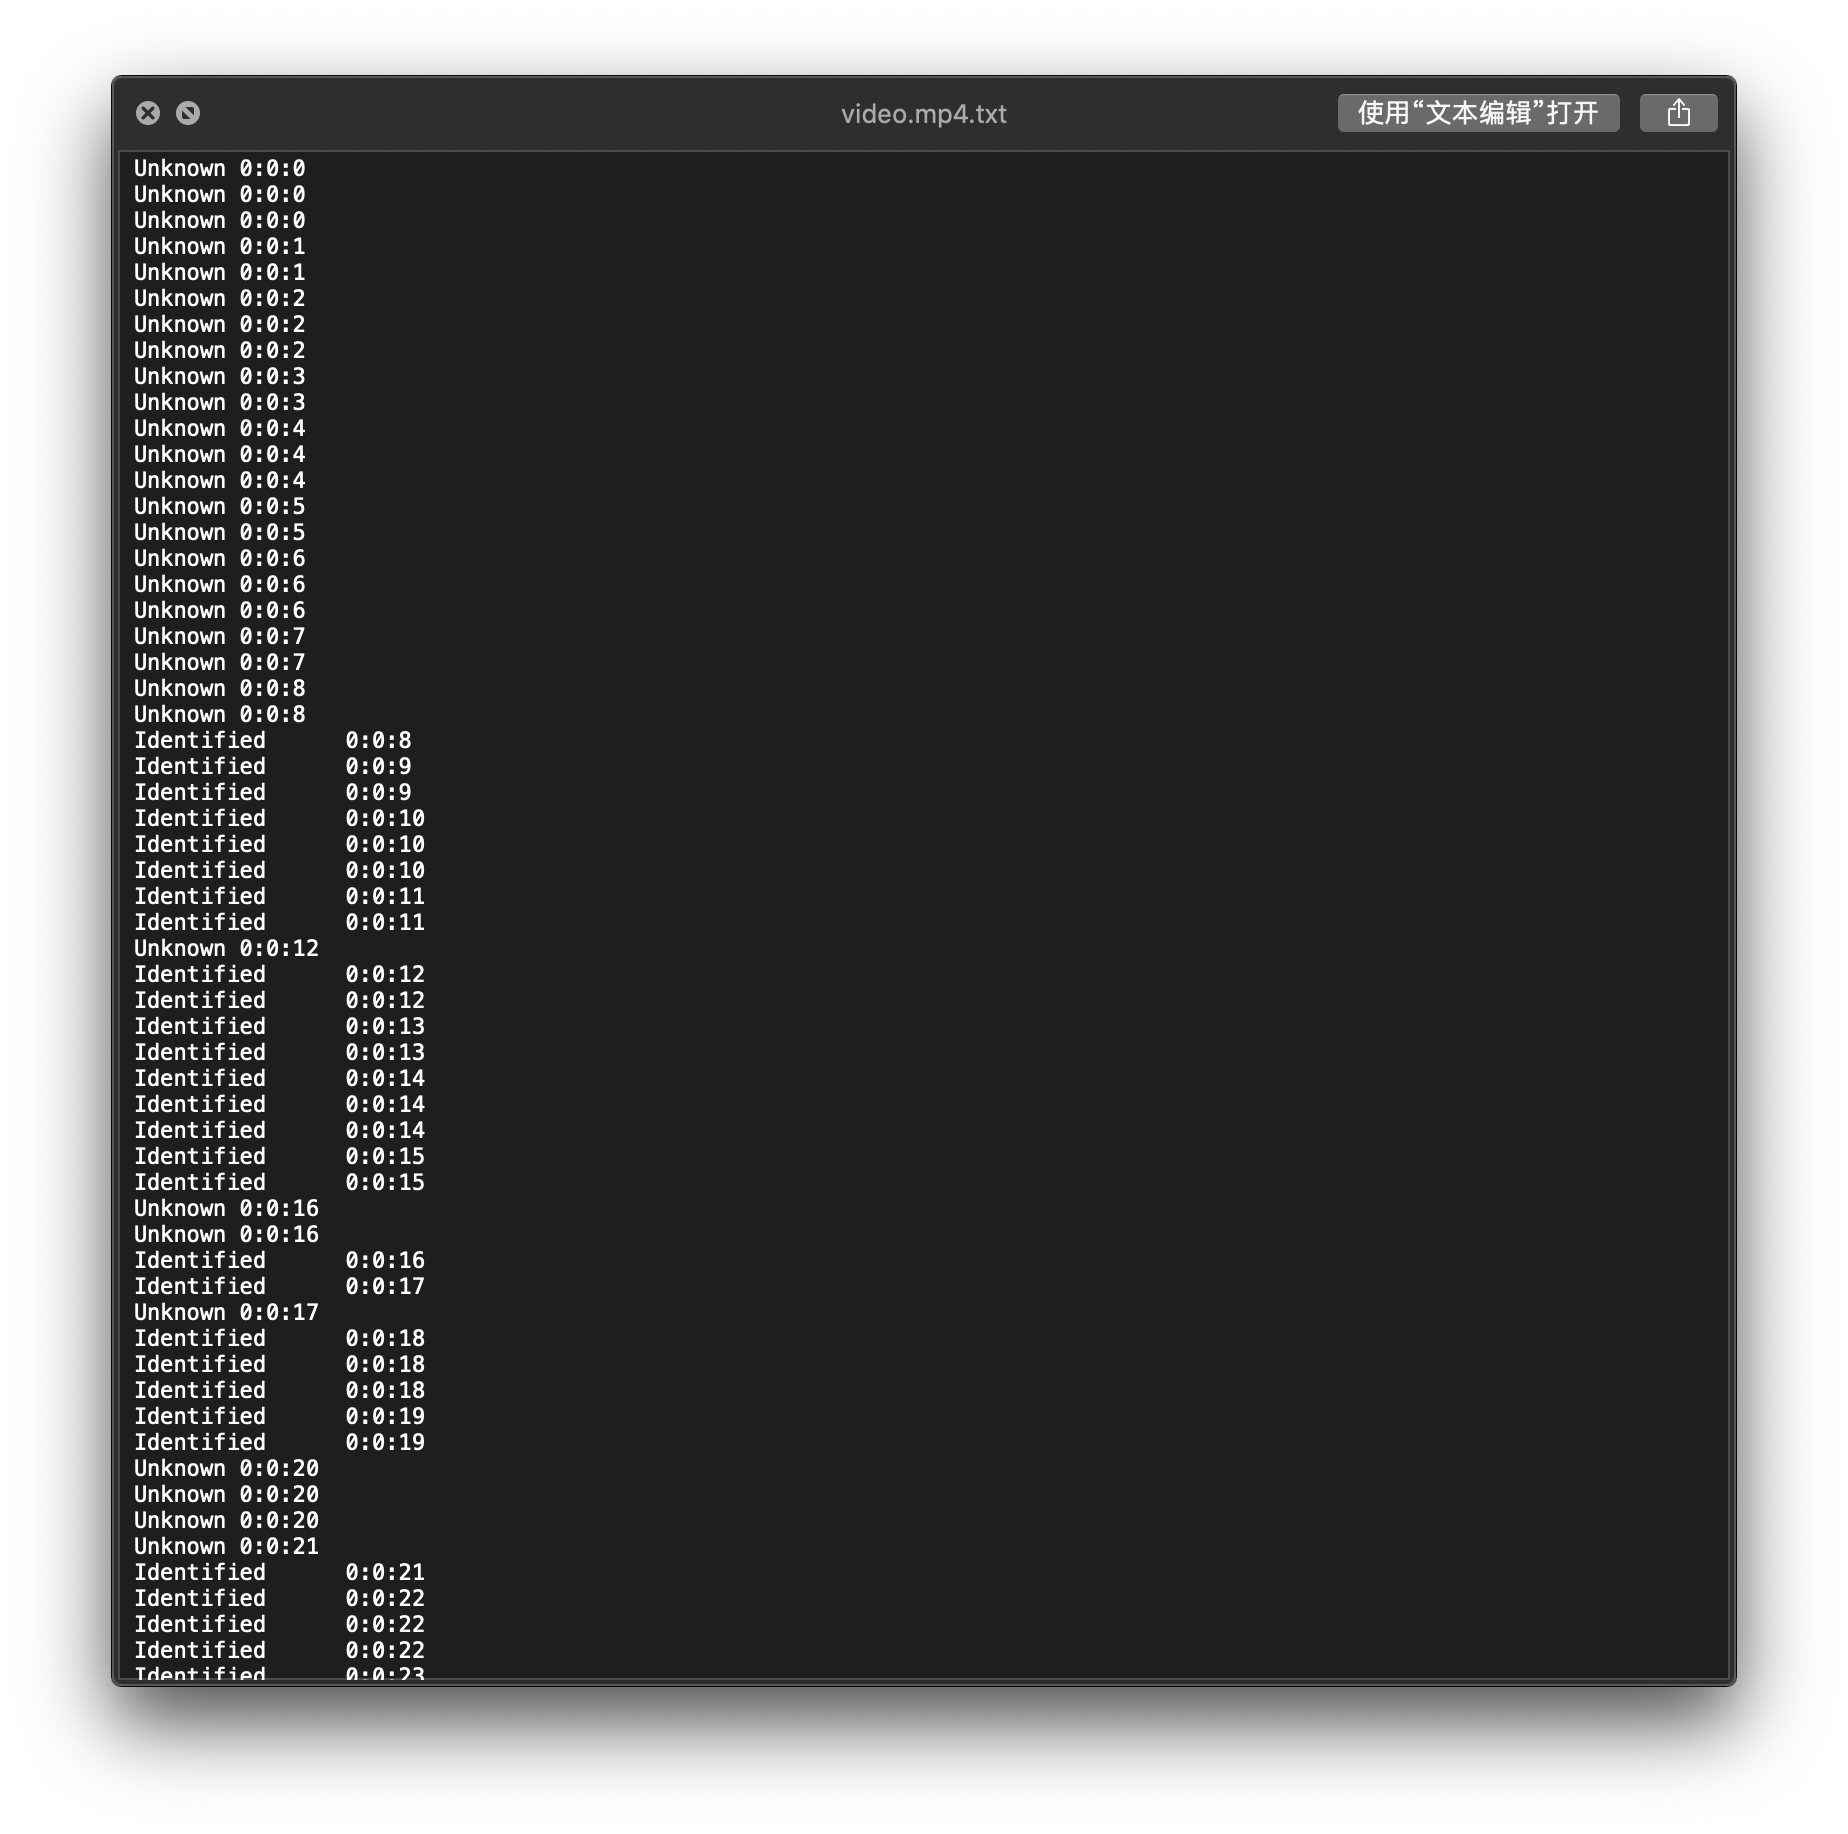
The result for every processed frame is written to a file that lists the name and the time of appearance. The video can then be post-processed based on these results.
Summary#
What could be improved#
The whole exercise was a balance between hardware and software, worked out while learning. It solves the initial problem, but there is plenty left to improve.
First, the code uses hard-coded paths. That was convenient, but it makes the project hard to share and reproduce, and it imposes a rigid directory layout. My layout looks like this:
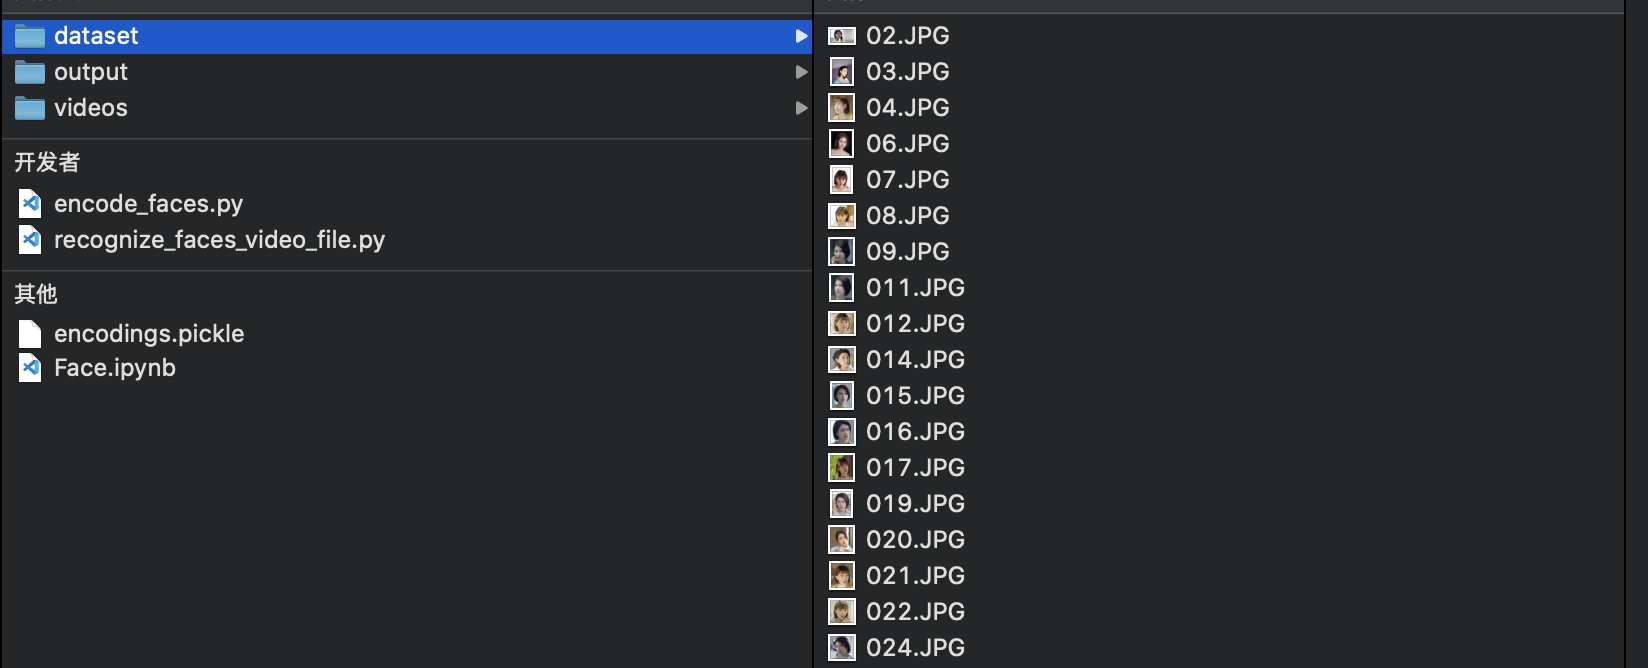
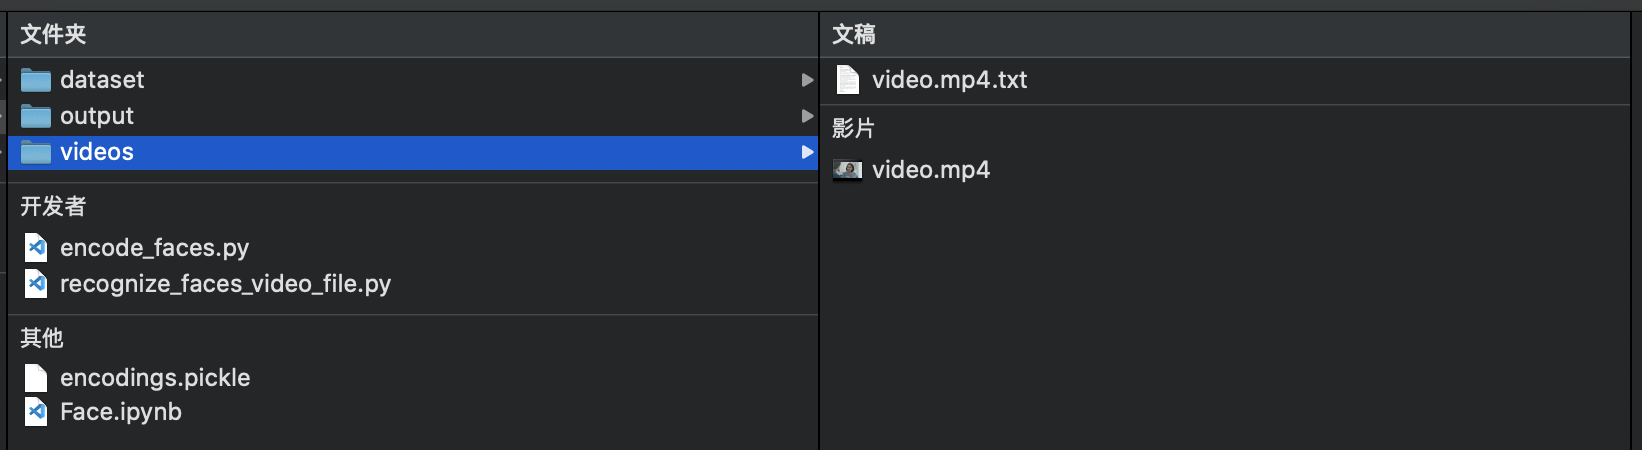
Reading parameters from the command line would make the code more flexible, and it could be extended to process several videos at once.
The global parameters are also not well tuned. I did not find the best values, and the output shows some misidentifications. Two remedies come to mind:
- Use more target photos. I used about 40 with fairly uniform expressions; a more varied set would reduce false matches.
- Tune the parameters, for example by choosing them with maximum likelihood estimation.
What I learned#
Building this taught me the basic methods and concepts of video and image processing. Standing on the shoulders of giants and reusing existing libraries got the job done, but I also need to strengthen my statistics background rather than rely on the tools alone. I am recording the process, the problems I hit, and their solutions here for future reference.